Choosing Your Arrow Shaft
Arrow Building How-To Part 1
Disclaimer: This post contains affiliate links. This will direct you to the product and I may receive a small commission at NO COST to you. The support helps keep new content coming!
In this mini series, I will go over the steps we follow when choosing and building our arrow setups for the upcoming hunting season. Much of this information we have researched over the last few years and I will do my best to highlight some great resources for each section.
First up is the arrow shaft itself. If you happen to do a quick search you will find that there are quite a few manufacturers to choose from and each one has multiple models of arrow shafts available. While this can be very confusing at first, there are a few steps you can take to help simplify the choice.
I would recommend finding out which brands your local archery shop carries. Availability is generally a concern as I do not stock dozens and dozens of arrows at home due to cost, so having the ability to quickly purchase extra arrows in a pinch is important to me.
If you follow any social media at all you undoubtedly will be familiar with brands such as Black Eagle and Day Six. It seems like these are the two most common arrow brands shot by some of the hunting industries “elite” hunters. Unfortunately, for those of us that live north of the border shipping costs and the ever frustrating Canadian dollar make these two brands difficult to stomach. Most of my research has been focused on Easton, Gold Tip, Victory Archery Products, Carbon Express and Killn’ Stix as these are the arrows carried locally by Jim Bows Archery and the former OC Archery.
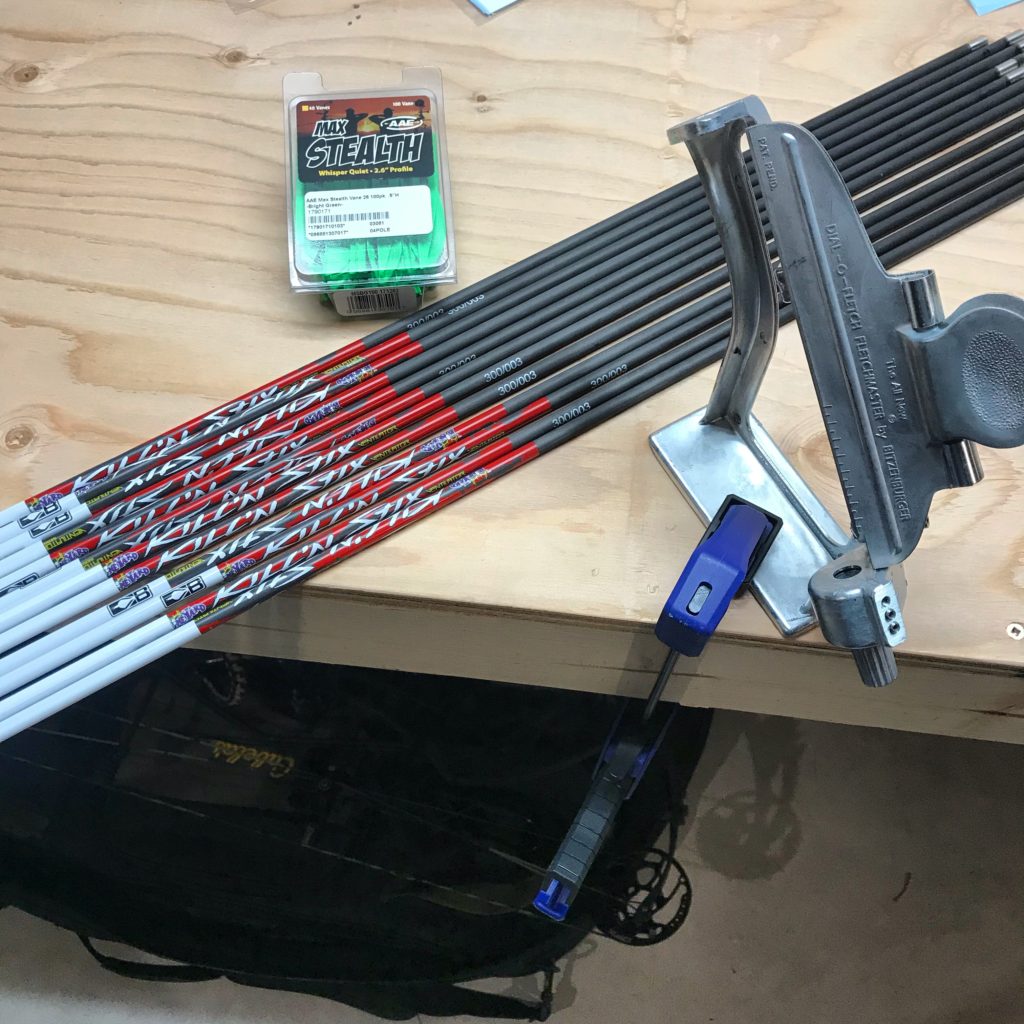
After personally shooting Killn’ Stix arrows for the 2017 and 2018 seasons we will be looking to make a switch heading into the 2019 hunting season. We noticed some spine inconsistencies and poor components on the latest batch of arrows. I will do a review to highlight some of my thoughts on the arrows in the future. We did shoot both the standard diameter Originals and their 5mm option, the Ventilator. With the few issues we did have and the local dealer closing its doors, compromising their availability, we felt a change was the best move for total confidence in our setups.

Next up is to decide on the diameter of arrow you would like to shoot. Currently, there are three main options. There is the standard arrow (having an inside diameter of .246”), the 5mm (having an inside diameter of .204”) and the 4mm or micro-diameter (having and inside diameter of .165”). Our first few seasons we shot the standard diameter arrows and did have success. Both J and I harvested deer with the Killn’ Stix Original arrows. In the 2018 season we made the switch to the 5mm or .204”ID shafts much like the super popular Easton Axis. Based on our research, the smaller diameter shafts generally have a lighter GPI (grains per inch) and allow for more weight to be added to the front of the arrow without having too high of a total arrow weight, and with the smaller surface area are less affected by wind.
Hunting in the open prairies where wind is inevitable, having higher front weight and smaller surface area could be very beneficial for those nasty weather days. We are considering the move to the micro or .165”ID shafts if we can find some reliable experiences with the components. A quick search of micro or .165”ID shafts on the forums tell a story laced with frustration. Although, this is an example of when I will lean on the local archery shop as these guys will usually see and hear more than what gets posted on a forum.
Third, price point is the next thing to consider. All manufacturers offer varying levels of straightness (measured in thousandths of an inch). This can affect the price per dozen based on the amount of useable shafts that fit each category. Typically you see 3 categories 0.005”, 0.003” and the top tier of .001”. We have shot the .003” category and have had great accuracy downrange. In my opinion, the average archer cannot outshoot a .003” straightness arrow, meaning that any accuracy gained by the straighter arrow likely is negated by form or other uncontrollable circumstances in hunting situations. If you are a highly skilled target archer, or a gear freak (I feel you here) then .001” shaft may be required.
One thing to note on the straightness rating however, is that the majority of companies list the straightness based on a 32” arrow, with the bulk of the discrepancies in straightness occurring in the final few inches of the arrow shaft. I typically shoot a 28-28.5” arrow (29” draw), so after cutting off 3+ inches most of those abnormalities are gone. For the perfectionists, you can spin test each shaft prior to cutting your arrows and cut more off the end with the most visible warp and a smaller amount off the other end. In order to spin test an arrow, you lay the shaft on an arrow spinner, typically a bracket type tool with bearings and spin the shaft, any deviations in straightness will appear as a wobble in the ends of the shaft. This will usually bring your arrows from one grouping up to the one higher, for example, a .005” to a .003” or a .003” to a .001”.
This is a great way to save a little bit of money and still achieve the accuracy you are looking for if you have access to an arrow saw or a REALLY patient pro shop. The price can vary from company to company but typically you can expect the lowest straightness to be around $130-150 per dozen and for the highest level you could expect to pay $180+ per dozen.
Once you move through these steps you will likely have narrowed it down to only a few main choices. Understanding that spin testing can identify a better shaft, it is very uncommon to be able to spin test prior to purchase. So one has to decide if it is worth the extra money and time to purchase a spin tester or simply purchase a higher tolerance shaft.
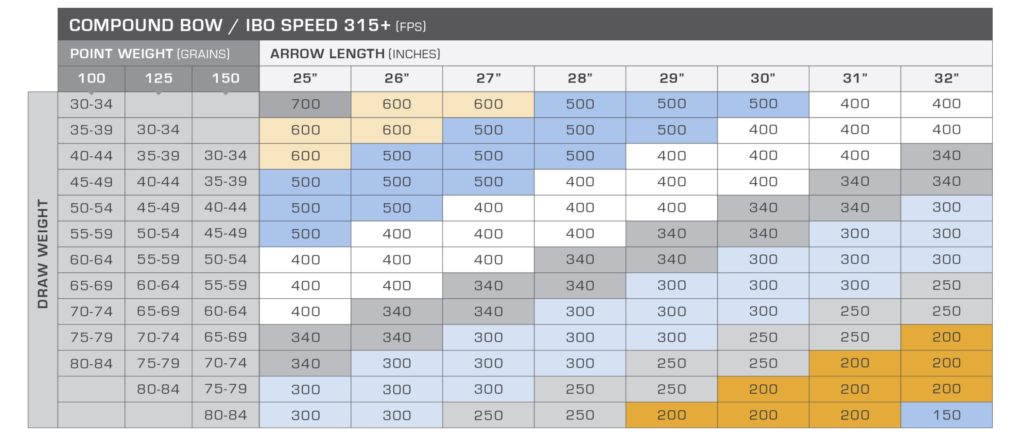
Finally, you will have to decide on the spine of arrow you require for your setup. The spine is a measurement of deflection when the shaft has a force applied to its center. The smaller the deflection, the stiffer the spine. Each manufacturer does have a spine selection chart, however they are typically based on a 100 gr point and their standard aluminum insert. The insert is the adapter that is glued into the arrow shaft that is threaded so we can install field tips and broadheads. The charts (example below) are read by intersecting your draw weight and draw length to determine the spine. If you plan on using a heavier insert or a heavier broadhead (or both if you’re really trying to add weight) then you will have to increase your spine to achieve proper flight.

For a great example of how adding a heavier insert or broadhead affects the spine of arrow check out John Dudley’s (with Nock on Archery) chart he made for his Nock On Easton Arrows.
That can be found here .
Personally, we have found that with broadhead flight, erring on the side of slightly stiff is better than slightly weak.
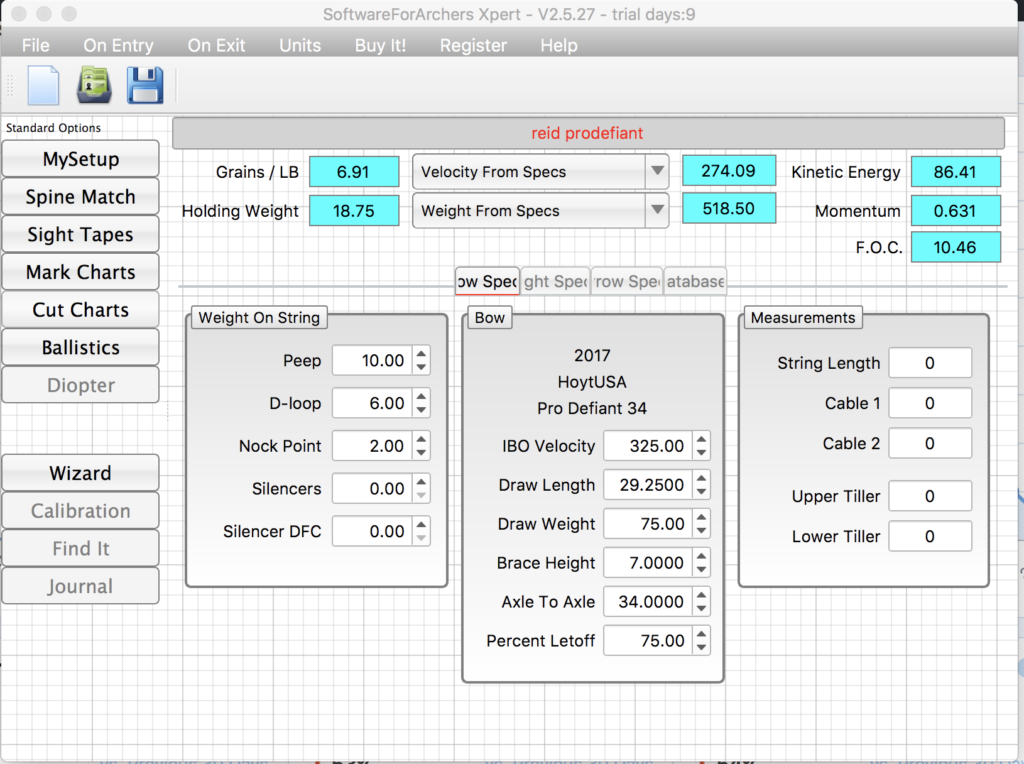
Discussing the spine options with your local pro shop or using an archery software such as SFAX for Mac (our choice) or OnTarget2 for PC, from Pinwheel Software can help you play with different configurations prior to buying.

At this point, searching some of the more well trusted archery sites such as Rokslide or Archery Talk for reviews and talking to your local shop for their recommendations should lead you to a shaft or two. To be honest, once you narrow it down, each shaft will perform for the typical archer and then it becomes personal preference on brand or style of arrow that gives you the most confidence.
This one was long and I feel like I didn’t scratch the surface but trust, me arrow building is a never ending rabbit hole!
Check out Part 2: Selecting Arrow Components, Part 3 : Tools Needed and Part 4: Assembling Your Arrows for the rest of the series!
If you have any questions about the article or maybe notice something that is missing, please let me know – R


