
Tools Needed to Build Arrows
Arrow Building How-To Part 3
In order to build your own arrows at home, there are a few tools that you will need. Below is a list of the tools I use and have used. (Part 4 will be how to actually build the arrows)
Disclaimer: This post contains affiliate links. This will direct you to the product and I may receive a small commission at NO COST to you. The support helps keep new content coming!
First up, we order our arrows through a local shop so we always get them to cut the arrows to length for us. This helps a lot as an arrow saw can run upwards of $250 dollars. This is an expense that I don’t feel is necessary as even with arrows purchased elsewhere, most shops will cut your arrows for a dollar an arrow. Yes, that means you will have to cut 250 arrows before that saw pays itself off!
Once your arrows have been cut to length, it is important to make sure to square each arrow to ensure a flush mounting surface of the insert/broadhead and I even square the nock end. For this I use a G5 ASD or Arrow Squaring Device. It can square carbon and aluminum arrows by changing which side of the “blade” you use.

Another key tool to keep on hand is an arrow spinner, the one I purchased is from Apple Archery but there are many different options. This allows a user to check the arrow for wobbles with the broadhead, this is handy to check repeatedly before gluing the inserts into the shaft as they may need to be rotated to match up perfectly. These arrow spinners will cost about $50 locally
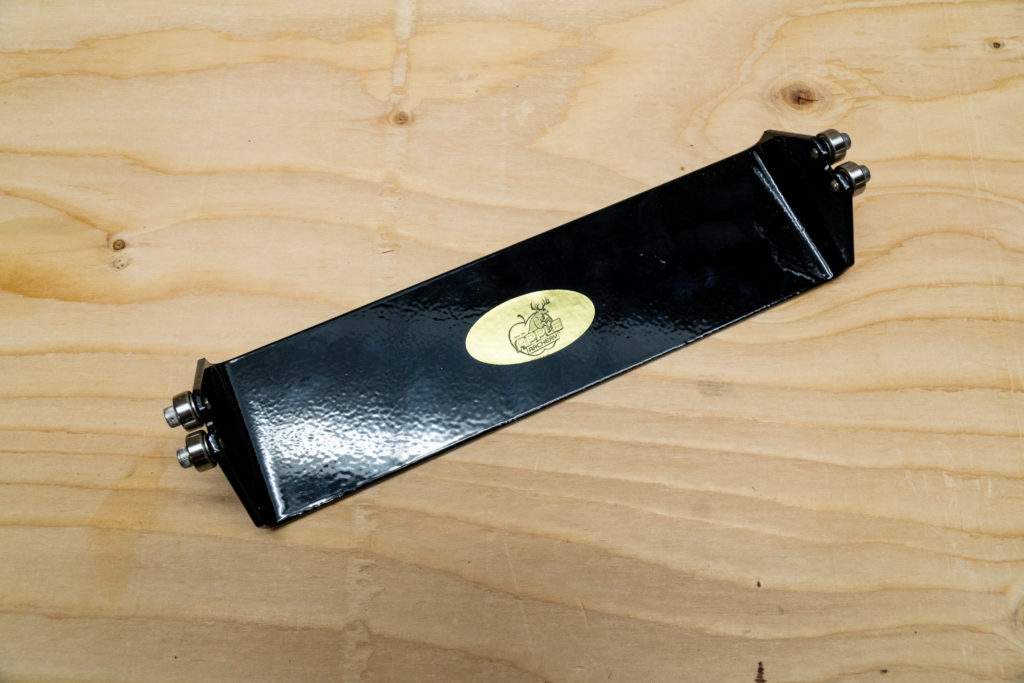
Once the front of your arrow is all built, next is fletching. I have used two different fletching jigs, one being the Bitzenberger (left) and the other is the Bohning (right). The Bitzenberger jig is metal and more sturdy, and is the go-to fletching tool for most shops. They retail for about $129.99 in stores locally. The Bohning is a plastic jig and is a more affordable DIY jig costing only $49.99 locally. Both the Bitzenberger and the Bohning jigs allow variable offsets and 3 and 4 fletch options and both come with a straight clamp. I have also purchased a right helical clamp for the Bitzenberger jig to experiment with that this year.


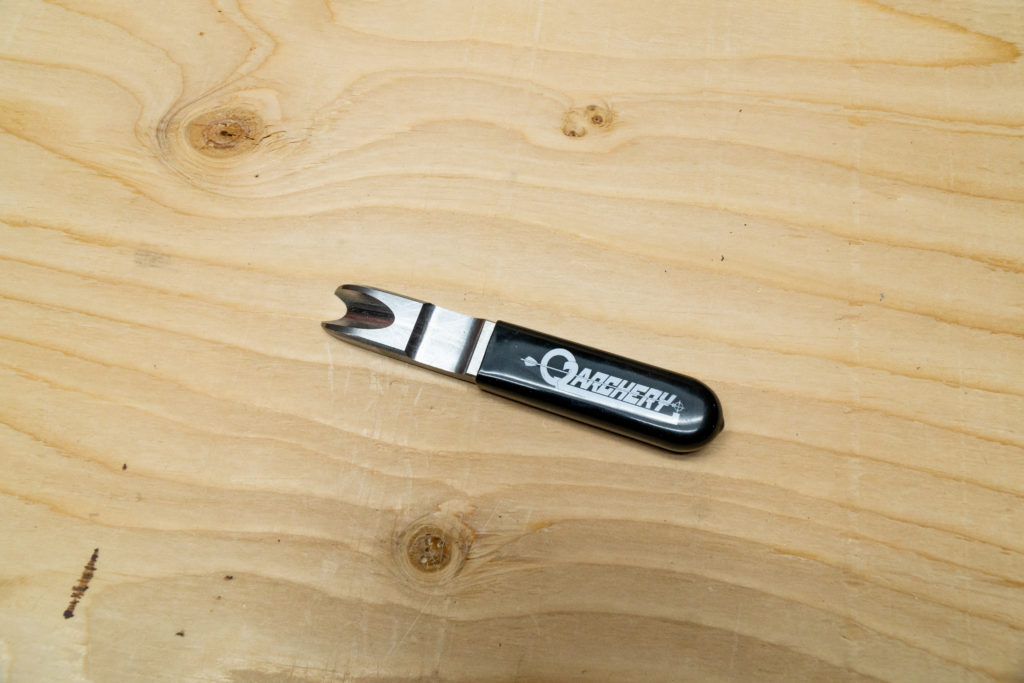
Now, if your fletching gets damaged and you need to re-do your arrow a fletching removal tool is necessary. This one from Q2 Archery works great and cost about $15 locally.
If you really want to geek out, having an arrow weigh scale to ensure each built arrow is a similar weight by mixing and matching the components is the last piece of the puzzle. Although for most archers, unnecessary, as simple math can give you a weight within +/- 5 grains which will not affect the trajectory in a hunting scenario.
Other items that you should keep on hand are Q-tips to clear off excess glue, an arrow cleaning solution to prep the surface before fletching, and some acetone to clean the ends of the arrow prior to gluing inserts and to remove any leftover glue when replacing fletchings.
If you choose to use any AAE Max vanes their primer pen is also necessary to prepare the vane itself prior to gluing.

A good slow curing insert glue is great for overall durability and I find a quicker curing glue is better for fletching your arrows. I use AAE fletching glue and Gold Tip tip grip arrow adhesive for inserts.
Hope this helps gets you started with the tools needed to build your own arrows!
-R

